How to setup a fcstd base
You need to have FreeCAD and FreeCAD for BOLTS installed.
This assumes, that the blt file for this part is already created, and you have a fcstd file with the part that you want to add to BOLTS.
We do this at the example of a aluminum T slot extrusion.
Check the fcstd file in FreeCAD
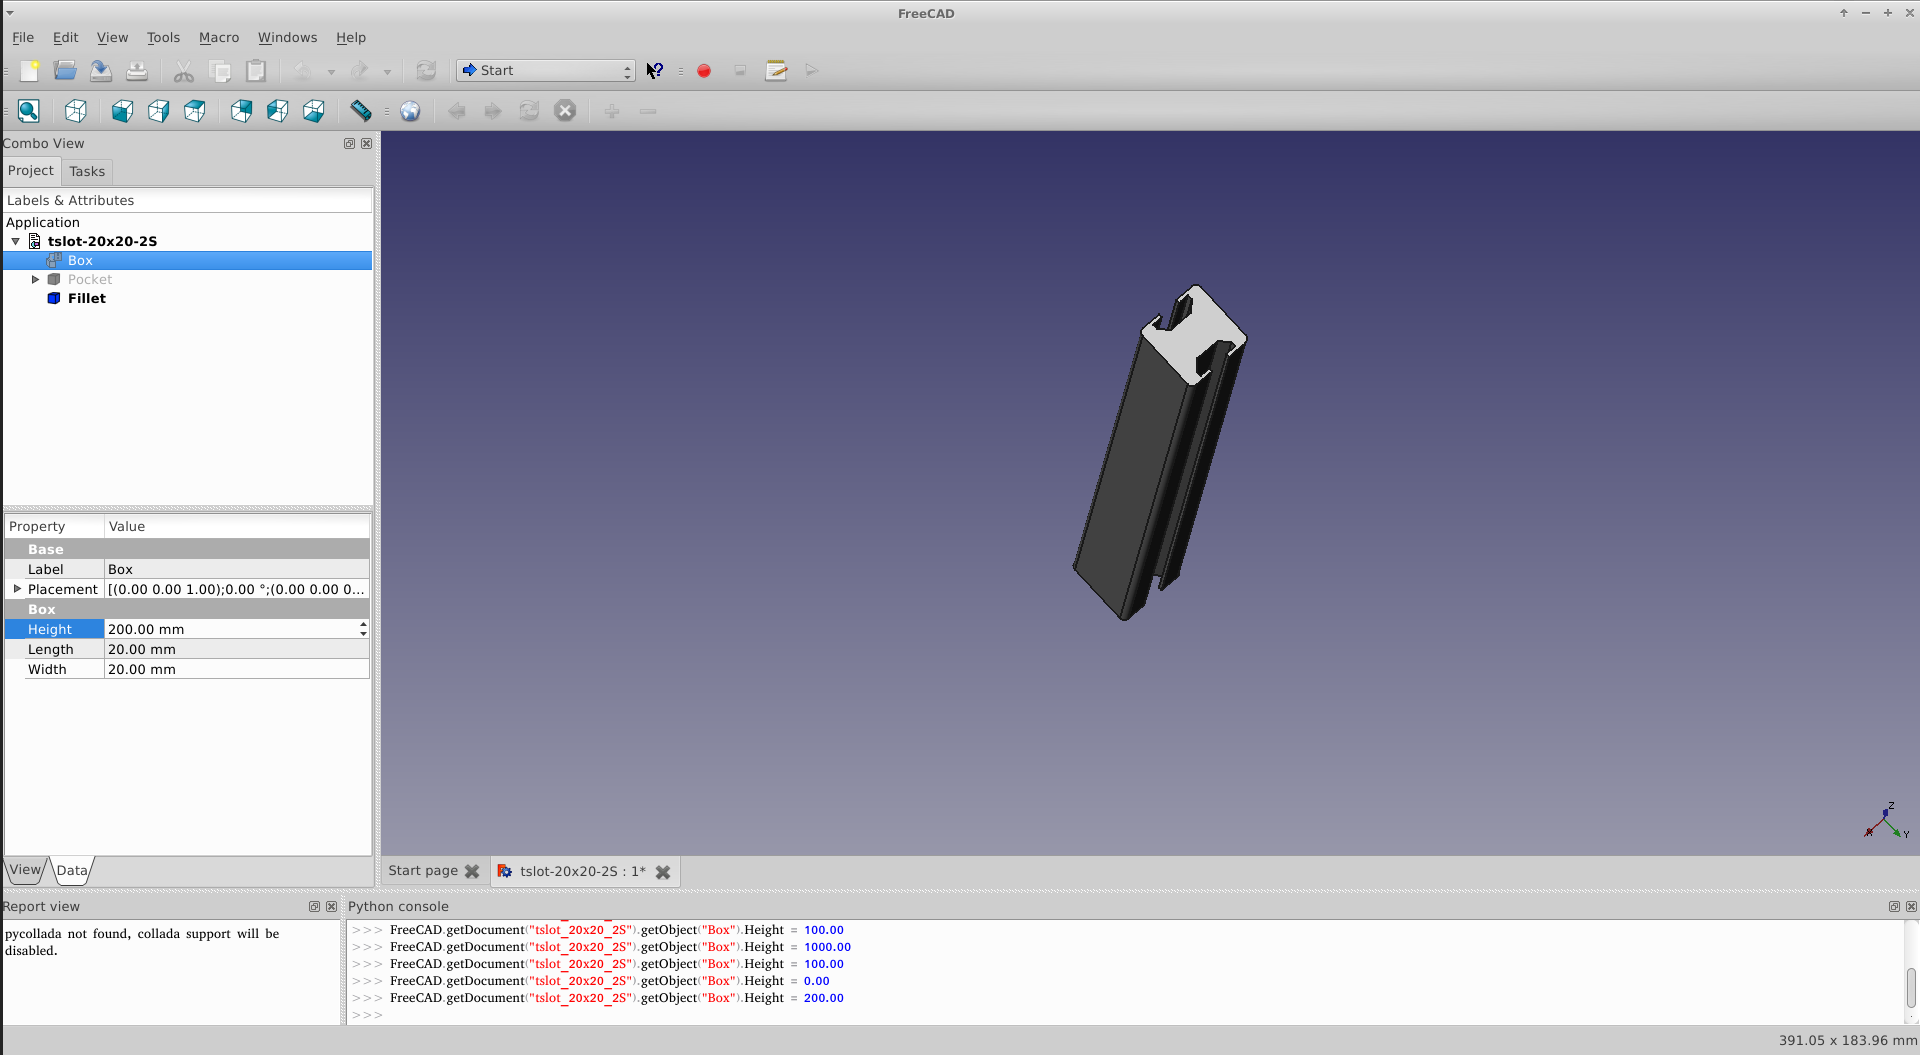
Load the part in FreeCAD and check that it looks visually ok.
If the part is supposed to be parametric, then try to change the parameters that BOLTS should be able to set. For the aluminum extrusion this is only the length, which corresponds to the height of the box in the file. So we select the box in the combo view, select the data tab and change the value for the height. The part should now change its length, but still look like expected. Do this for all parameters, also check combinations.
Find out feature and property names
Usually, a part consists of several features. We need a way to tell BOLTS which feature is the one that it should use. If the part is parametric, we also need to tell it, how the properties of the features map to the parameters.
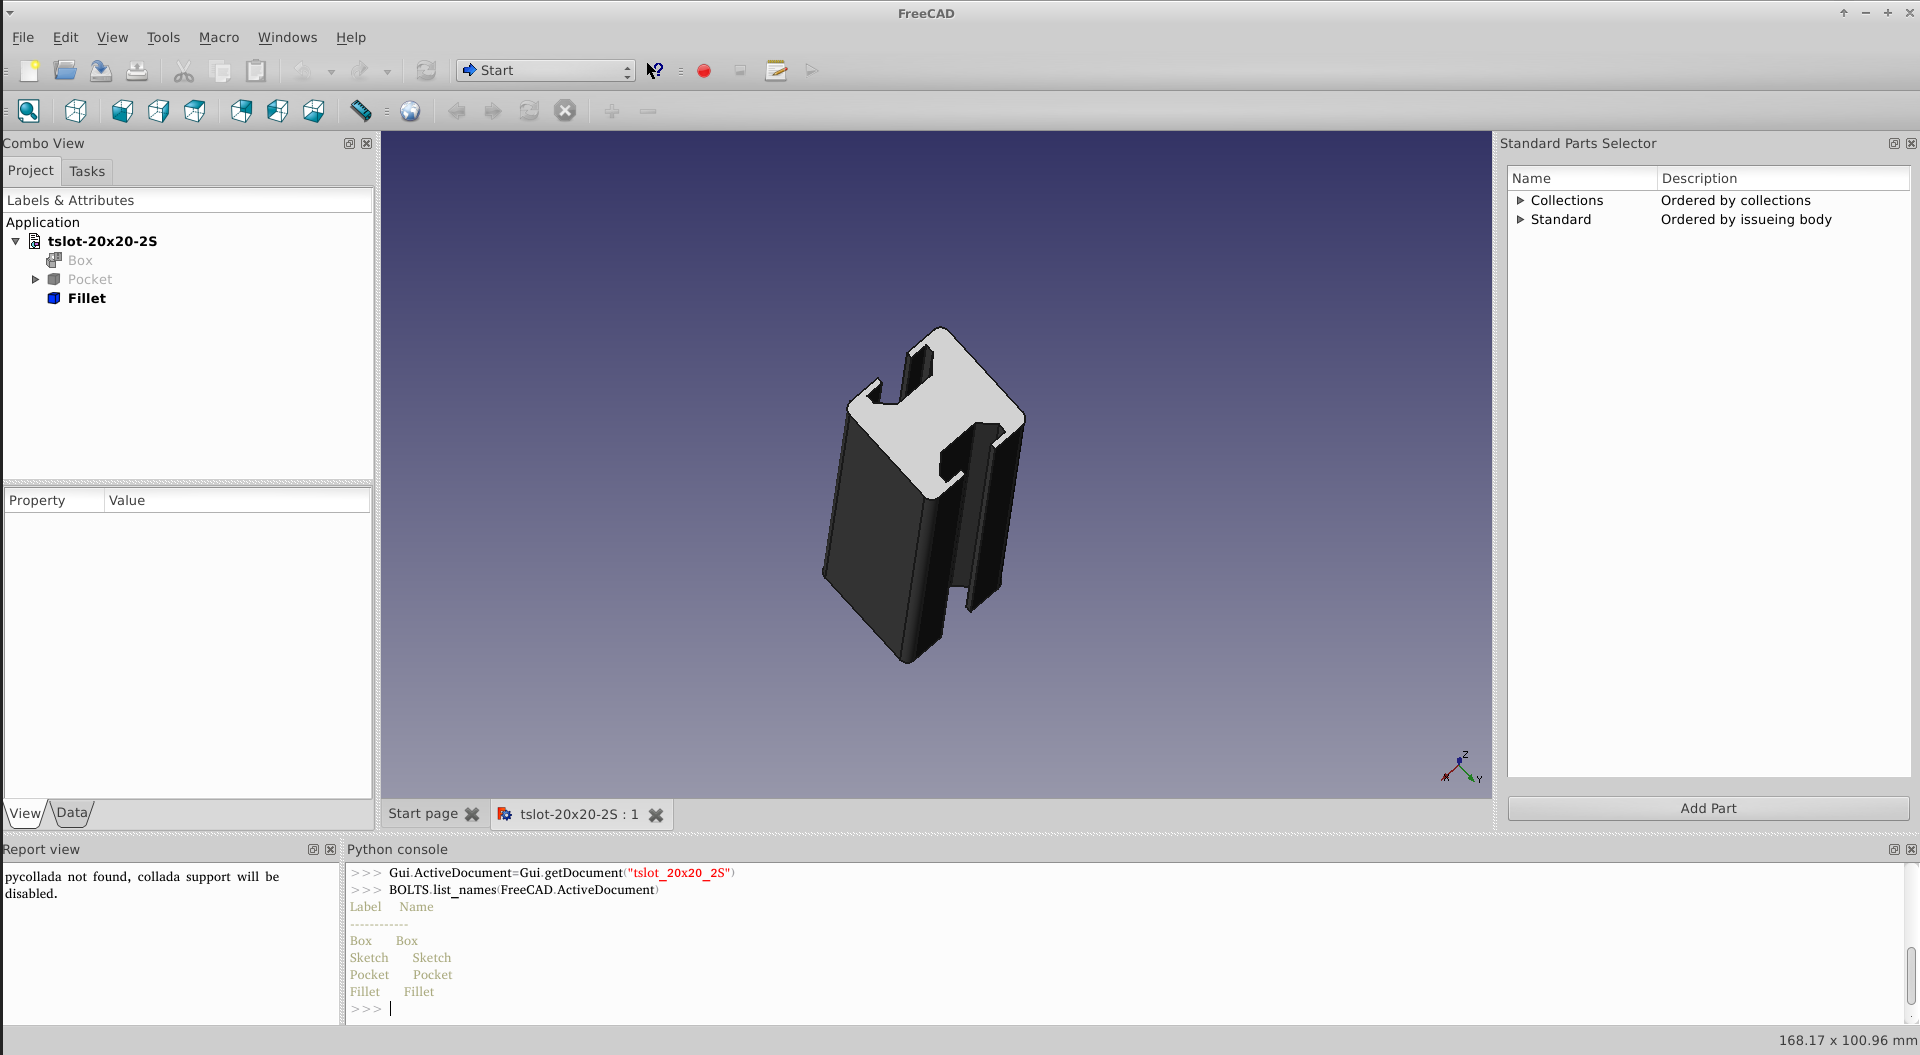
Features in FreeCAD have a unique name in a document, but this name is not always identical to the label that is displayed in the combo view, so be careful. BOLTS offers a convenient way to find out the names of all features in the document. Enter the following lines into the python console of FreeCAD:
import BOLTS
BOLTS.list_names(FreeCAD.ActiveDocument)
The first line imports and starts BOLTS, the second line calls a function from BOLTS that gives out a list of all features with their label and the corresponding object names.
We need to remember the name of the root feature, that BOLTS is supposed to insert, and the names of all features that provide parametric behaviour and the corresponding names of the properties.
For the T slot extrusion, the root feature has the label Fillet, and the name
Fillet, the length of the extrusion can be changed with the Height property
of the Box (both name and label).
Copy the fcstd file to the correct directory
The fcstd file goes to the subdirectory of the collection in the freecad directory of the repository.
Write the base file
The base file provides BOLTS with all the information it needs to know about the files in a collection directory.
For the aluminum extrusion it looks like this:
---
- filename: tslot-20x20-2S.fcstd
  author: Johannes Reinhardt <jreinhardt@ist-dein-freund.de>
  license: CC0 <http://creativecommons.org/publicdomain/zero/1.0/>
  type: fcstd
  objects:
   - objectname: Fillet
     classids: [tslot20x20-2s]
     proptoparam:
       Fillet : {Label : name}
       Box: {Height : l}
  source: created from scratch, dimensions from http://www13.boschrexroth-us.com/partstream/Load_Category.aspx?Category=20mm%%20Series&menu=1,1,1
...
The hyphens and dots on the first and the last line indicate the begin and end of the metadata (a base file is a YAML file. Between those two markers follows a list of base file elements, one for each file. The begin of a new element is indicated by a hyphen. If there are more than one file in the collection directory, there would be more elements, but here it is only one.
Each element contains various fields with information about the file, e.g. the filename or name and email address of the author, here in lines 2 and 3.
Because the part will form a combined work with the rest of the design, and we do not want to force the users of BOLTS to put their work under a certain license, BOLTS requires that the author waives all rights for this part, by releasing it in the Public Domain, preferably by the use of the CC0 License. This is done in the fourth line.
In the fifth line the type of file is indicated, in this case it is a fcstd file. Then follows a list of objects. It is in principle possible, to have several different parts in one fcstd file. Each element describes one object.
The objectname field gives the name of the root feature for this object. We
learned this name in the second step of this tutorial. For the extrusion this
is Fillet.
The classids field gives a list of classids (as given in the blt file of this collection), for which this object is used. In our example it is only a single classid.
The proptoparam field gives the mapping between the parameters as specified in
the blt file of the collection, and the feature names and properties that we
found out in the second step of this tutorial. The Label property of the
feature with name Fillet (the root feature) should be set to the name of the
part and the Height property of the feature Box should be set to the length
l.
A parameter might appear more than once if more than one feature needs to be adjusted.
The optional source field allows to give information about the origin of the file. So if there is a URL from which this file was downloaded, this can be included here.
When working on base files, pay attention to whitespace and indentation and do not use tabs.
Test it
You should now test the newly added part. This is most easily done on the command line by typing
./bolts.py export freecad
./bolts.py test freecad
in the repo directory. This will fire up a FreeCAD instance with the module search path set appropriately, so that typing
import BOLTS
on the FreeCAD python console should do the trick.
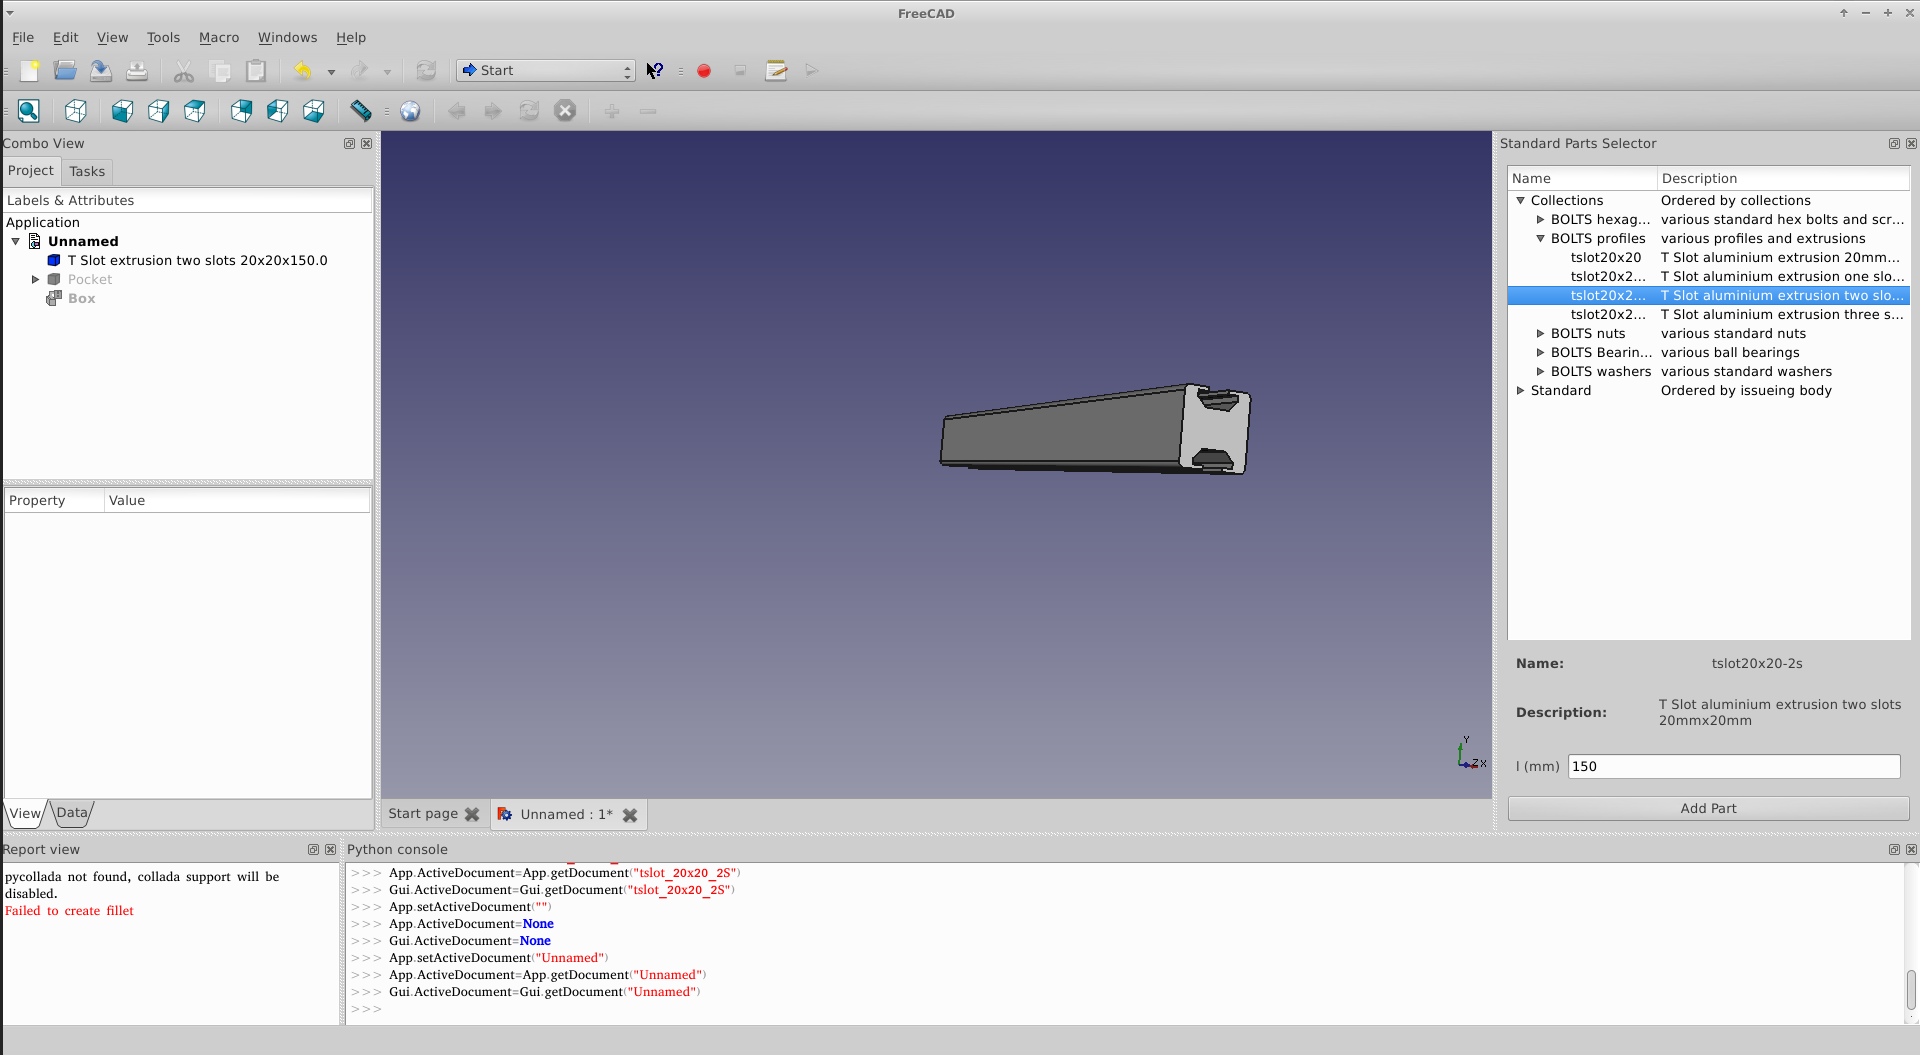
If BOLTS is started successfully, try adding the newly added part to the current document with different combinations of parameters.
Next steps
You might want to contribute this part to BOLTS, so that every user can profit from your efforts.


